|
|
Painting Guides
Painting Guides
Our Painting guides will show you the methods and techniques we used to paint some of our Miniature Scenery models
- Corner Hold
- Church
- Dwelling
- Pantheon Entrance
- Pod Bunker
- City Ruin Corner
- City Grounds
- Troop Lander
- Watch Tower
- Barbed Barricade
- Crater
- Hedge
Reference guide to painting technique used in our studio.
The colour names used here are taken from Citadel Colour Charts
|
| Blushing Technique |
 |
 |
 |
|
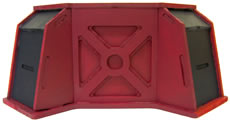
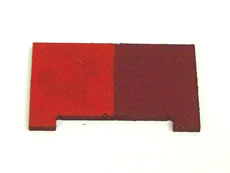
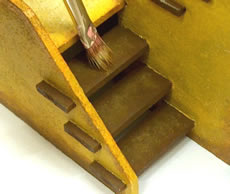
1. Blushing starts with a 'base coat' that is a darker shade of color.
For this example, we have used the Pod Bunker and applied a solid coat of 'Scab Red'.
|
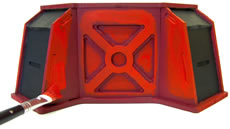
2. Apply a solid coat of lighter color to the areas that are not immediately affected by shade.
Notice how the recessed edges were not painted 'Blood Red'. Just the most exposed areas.
|
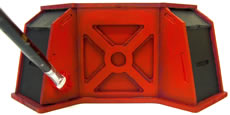
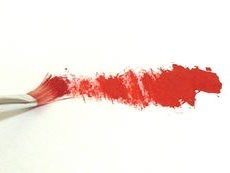
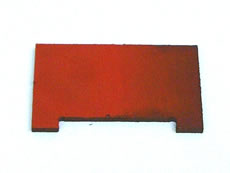
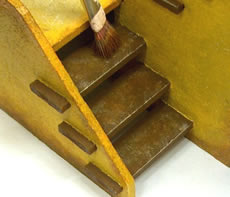
3. Gradually blend the light color areas towards the dark color areas. Be sure not to paint over ALL of the dark areas as this will flatten the effect.
We blended the 'Blood Red' with less paint on the brush by wiping it on some paper.
|
|
|
| BLENDING TECHNIQUE |
|
|
|
 |
 |
 |
 |
1. Blending is often used to merge colors together. In this case, 'Blood Red' will be blended to 'Scab Red'.
|
2. Blending should be started with a moderately dry brush. This can be achieved by wiping the brush on some paper.
|
3. Apply the paint with light brush strokes, working your way across the darker section.
|
4. Continue overlaying paint with light brush strokes until the appearance becomes seamless.
|
|
| DABBING TECHNIQUE |
|
|
|
 |
 |
 |
|
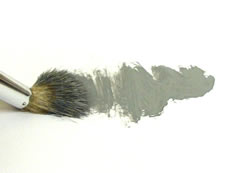
1. Dabbing is used to create texture on flat areas. Here we start with a base color of 'Bestial Brown'.
|
2. Using a moderately dry brush, dab the surface multiple times to build up patches while being careful not to create stroke marks. In this example 'Snakebite Leather' was used.
|
3. Multiple colours can be dabbed to create a final texture. If you overdo a color, simply dab the previous color to rebalance the effect. 'Bleached Bone' was used as the next color.
|
|
|
| DRYBRUSHING TECHNIQUE |
|
|
|
 |
 |
 |
 |
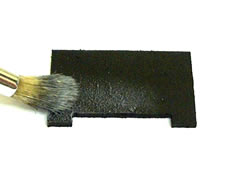
1. Start by applying a solid coat of your base color to a textured surface.
|
2. It is essential to have a fairly dry brush. You can achieve this by wiping the brush on some paper, rotating it as you go.
|
3. Lightly stroke the brush on the textured surface. It is normal to apply multiple strokes to the same area. If you see solid lines appearing, then you need to dry the brush more.
|
4. As the brush gets more dry, it is normal to scrub it harder in order to deposit any paint. |
|
| EDGING/HIGHLIGHTING TECHNIQUE |
|
|
|
 |
 |
|
|
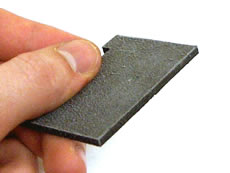
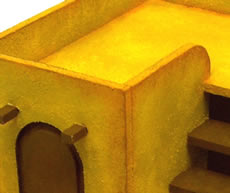
1. Edging is usually used to complete a painted piece by making them more defined.
|
2. Apply the highlight color to an edge by using the side of a flat brush. The bristles should be only slightly wet for best control.
|
|
|
|
| BROAD HIGHLIGHT TECHNIQUE |
|
|
|
 |
 |
|
|
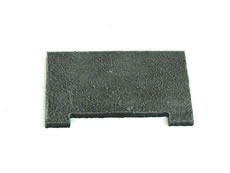
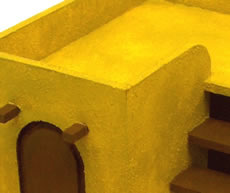
1. Broad highlighting helps define edges more by giving them a worn/weathered effect.
|
|
|
|
|
| WOODGRAIN TEXTURE |
|
|
|
 |
 |
 |
 |
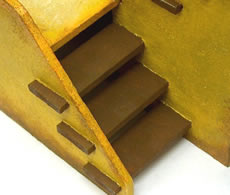
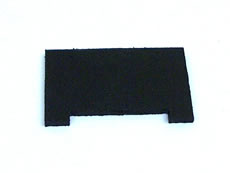
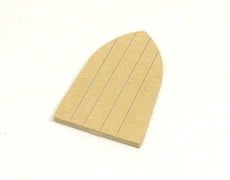
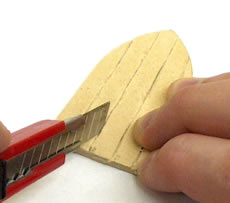
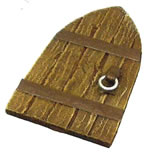
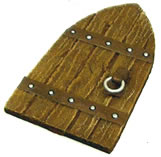
1. Start by marking groove lines with a pencil.
|
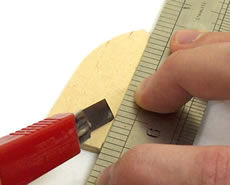
2. Score along each line using a craft knife and ruler.
|
3. Make the grooves deeper by running the back of the blade up and down multiple times.
|
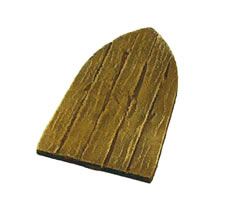
4. Use the front of the blade to make smaller markings between the grooves.
This door was completed by drybrushing 'Bestial Brown', 'Snakebite Leather' and 'Bleached Bone'.
|
|
| MOSS EFFECT |
|
|
|
 |
 |
 |
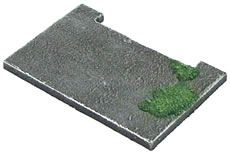 |
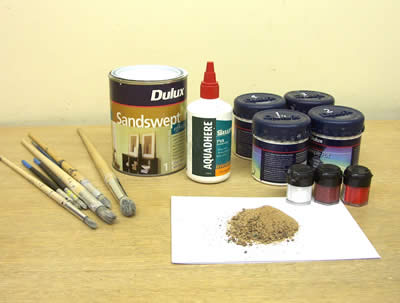
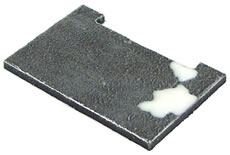
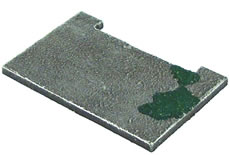
1. Apply PVA glue wherever you desire moss. Areas that would be exposed to moisture are usually most suitable.
|
2. Drop sand onto glue and allow to dry.
|
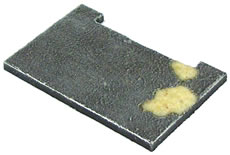
3. Apply dark green ink (or watered down paint) to the sand and allow to dry.
|
|
|
| DOOR HANDLE |
|
|
|
|
 |
 |
 |
 |
 |
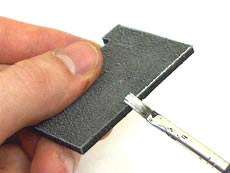
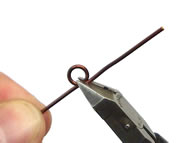
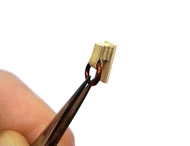
1. Bend some wire around a small brush.
|
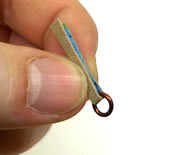
2. Cut the wire using cutters as shown to create a ring.
|
3. Make a strip using cardboard from a cereal box. Fold through the ring and glue. Allow to dry.
|
4. Cut the strip to an appropriate length. Use the rest of it to make two more smaller pieces that can be stacked and glued together. Glue a small base and allow to dry. |
5. Paint the ring silver and the rest of the handle 'Bestial Brown'. |
|
| RIVETS |
|
|
|
|
 |
 |
 |
 |
 |
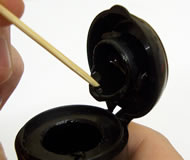
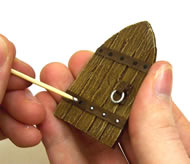
1. Cut off the tip of a toothpick.
|
2. Dip the toothpick into black paint. A generous amount of paint on the tip will ensure that the rivet head is not flat.
|
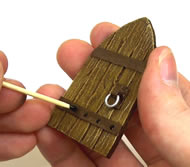
3. Mark the rivet points first with a pencil. Then carefully dab the toothpick onto each location, refreshing the tip as you go.
|
4. Once the black paint is dry enough, exercise the same technique using silver. Make sure the silver does not completely cover the black. |
5. Allow to dry. |
|


